1.1 Arduino Blink
Our first project is a simple project to turn the built-in LED on the Arduino. The boards we use in class have an LED built-in to PIN 13. Our first program is to introduce the Arduino, the creation and uploading of sketches, and running the sketch.
Note the blue LED with the number 13 next to it. This is the LED we will be turning off and on in our first sketch.
To create a new sketch we must start the Ardunio IDE. IDE stands for Integrated Development Environment. On your computer start the Ardunio IDE.
Make sure we are starting with a new program. On the Ardunio menu select File and then New.
Now enter the code for our first program:
/*
NAME
Internal LED Blink
Engineering Period 1
DATE

Revision History
DATE  |    NAME    |     Changes Made
------|------------|------------------------------
TODAY |  My Name   |  Initial Implementation

*/

void setup() {
  // put your setup code here, to run once:
  // PIN 13 is the build in LED
  pinMode (13, OUTPUT);

}

void loop() {
  // put your main code here, to run repeatedly:
  //Set the digital pin 13 to HIGH (on)
  digitalWrite(13,HIGH);
  //Wait 1 second
  delay(1000);

  //Set the digital pin 13 to LOW (OFF)
  digitalWrite(13, LOW);
  //Wait 1 second.
  delay(1000);

}
In our code, note the lines that begin with two forward slashes (//). These are comments and are ignored by the compiler. Comments help make our code easier to read. Comments help other developers understand what is happening in our project when it may not be apparent just by reading the actual code.
Try compiling the sketch. You can compile the sketch by either clicking the check under the file menu or going to the sketch menu and selecting “Verify/Compile”
In the lower part of the sketch window, you will see messages as the sketch complies. Are there any red error messages? If so you will need to correct your code.
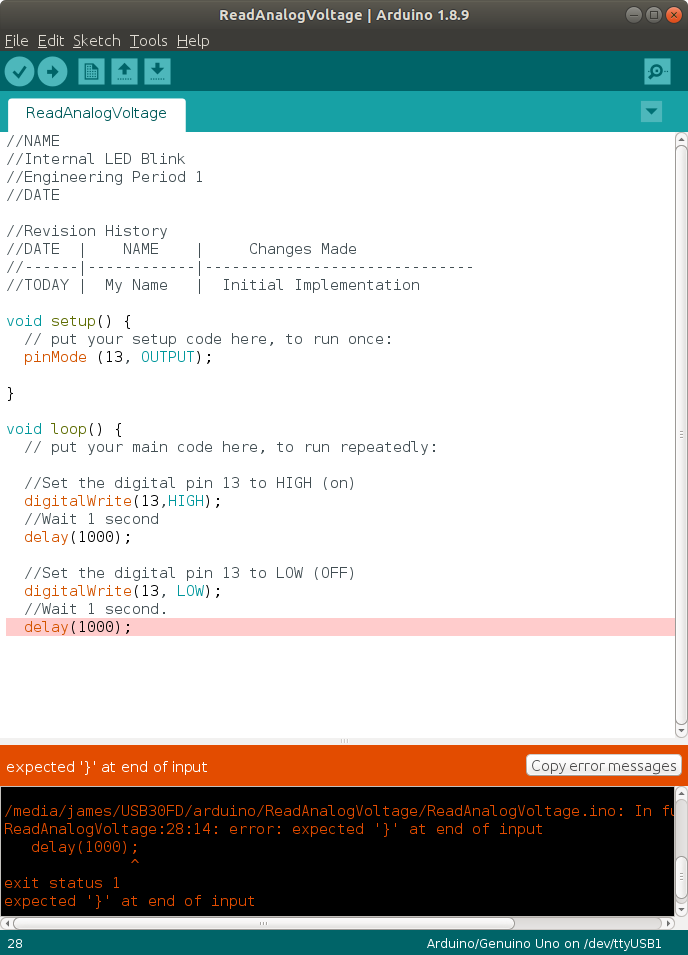
- Read the error message to identify the problem. In the case to the right the closing brace } is missing.
- After correcting the error try to verify / compile the code again.
After you are able to verify/compile the code without error you will upload the code to the Arduino. From the tools menu make sure you are on the correct port (ie COM3). You may have to try different ports to get it correct. After you select the port, click on the arrow pointing to the right (next to the check symbol we use to compile) to upload your sketch. Check the lower portion of your screen for a successful upload.